(click picture to see the enlarged version)
The old cargo trains that you will rarely see today.
Process
There were a lot of parts that needs to be modeled, so after staring at this picture below and planned for five minutes, I started work without delay...
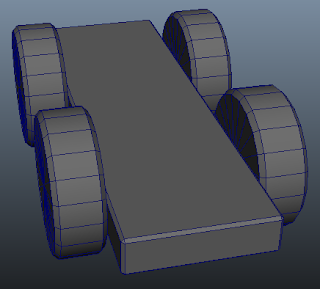
I decided to tackle the back platform first. Used four cylinders as the wheel of the platform, and a cuboid for the platform itself. Then I cut an oval-shaped hole using boolean differences so I have place to put my cubes...
With that done, I created my three cubes, and put them inside the hole. To finish off I attached a spring (made using helix) at the front side of the back platform, to serve as a connector between the front platform and the back platform.
Now onto the front platform... after placing the cuboid for the front platform in the correct position (so that it connects with the spring), I hid the back platform objects and started work on the front platform. Same routine, four wheels accompanying the front platform.
The cartridge is made up of a cuboid. The front engine is also made up of a cuboid, but with subdivisions this time so that I can manually move the vertices around. The front horn is made up of a cone and a cylinder combined together using Boolean Union.
Basically the same techniques were used for creating window holes for the cartridge (Boolean Difference with two cylinders), and to finish it off a roof was placed at the top. Now the front compartment is done!
The back platform objects were unhidden to finish the lab exercise.
Reflection
It took longer for me to make this than to make the robot in the first week's lab. I took around 1.5 hours to make something out, and in fact, I had retried it once because I messed it up and I am still a stranger to the Maya interface, so by right it is even longer time spent.
Still, this exercise allows me to try out the techniques that I have learnt from the toy block exercise. As again, I applied Bevel wherever I can to make the edges smoother, and used the boolean functions for the horn and the cartridge. I may still be unfamiliarised with these tools, but I am sure that they will come useful in my future projects.


No comments:
Post a Comment